Photography is a hugely popular field. People across the world love taking photos of people and places, even if they don’t intend to ever sell their images. If your interest in photography has recently grown but you’re not quite ready to shoot outdoors yet, you can always set up an indoor photography set.
Taking photos from the comfort of your own home is the perfect way to ease yourself into photography. It enables you to experiment and try different camera settings and backdrops so you can figure out what photography style suits you best.
The main challenge when it comes to creating beautiful imagery is knowing where to start. If you’ve bought yourself a DSLR camera, you’ll notice that there are countless different settings that you can choose from. To the untrained eye, this can be extremely overwhelming. How do you know which settings to use for your images? What do all the different photography terms mean? In this article, you will learn some of the photography tips and basics that you need to know before your first shoot.
1.The Background Matters: It’s all too easy to get carried away with choosing the focal point of your images but the background and scenery in your photos matter just as much, if not more than your main focal point. The backdrop of your photographs is responsible for evoking specific thoughts and feelings in your viewer’s minds. When you are shooting indoors, you will need to choose very specific backdrops for photography so that you can create the style of imagery that you want.

For example, if you’re shooting lots of outfit ideas, you’ll need a plain, neutral background that won’t distract from the clothing.
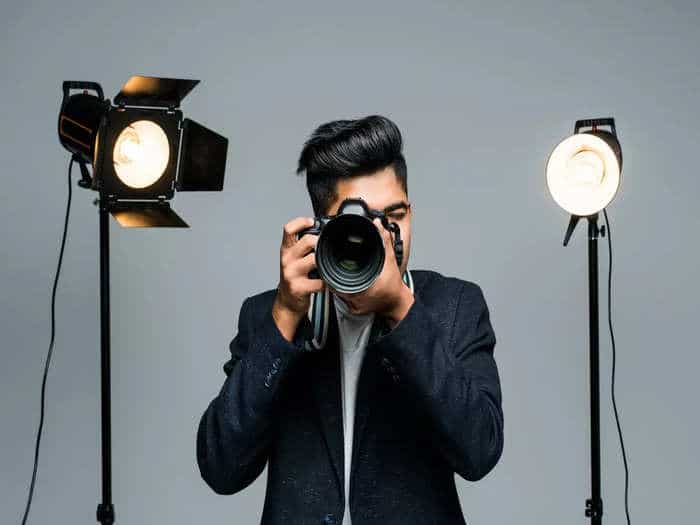
2.Consider Your Lighting Options: When you’re shooting indoors, lighting can be difficult to get right. You have two different options – natural light or artificial light. If you are shooting near a window in the middle of the day, you will be able to use natural light. The only issue with using sunlight to illuminate your set is that you will be unable to move the direction of the incoming light.

The second option is much more flexible. Using artificial lighting gives you more control over the direction and intensity of the lights in your images However, studio lights can often be harsh and extremely bright. They are not appropriate for every photography set.
Make sure to spend some time playing around with different light sources when you first get started. You might find that you have a strong preference for one option over the other.
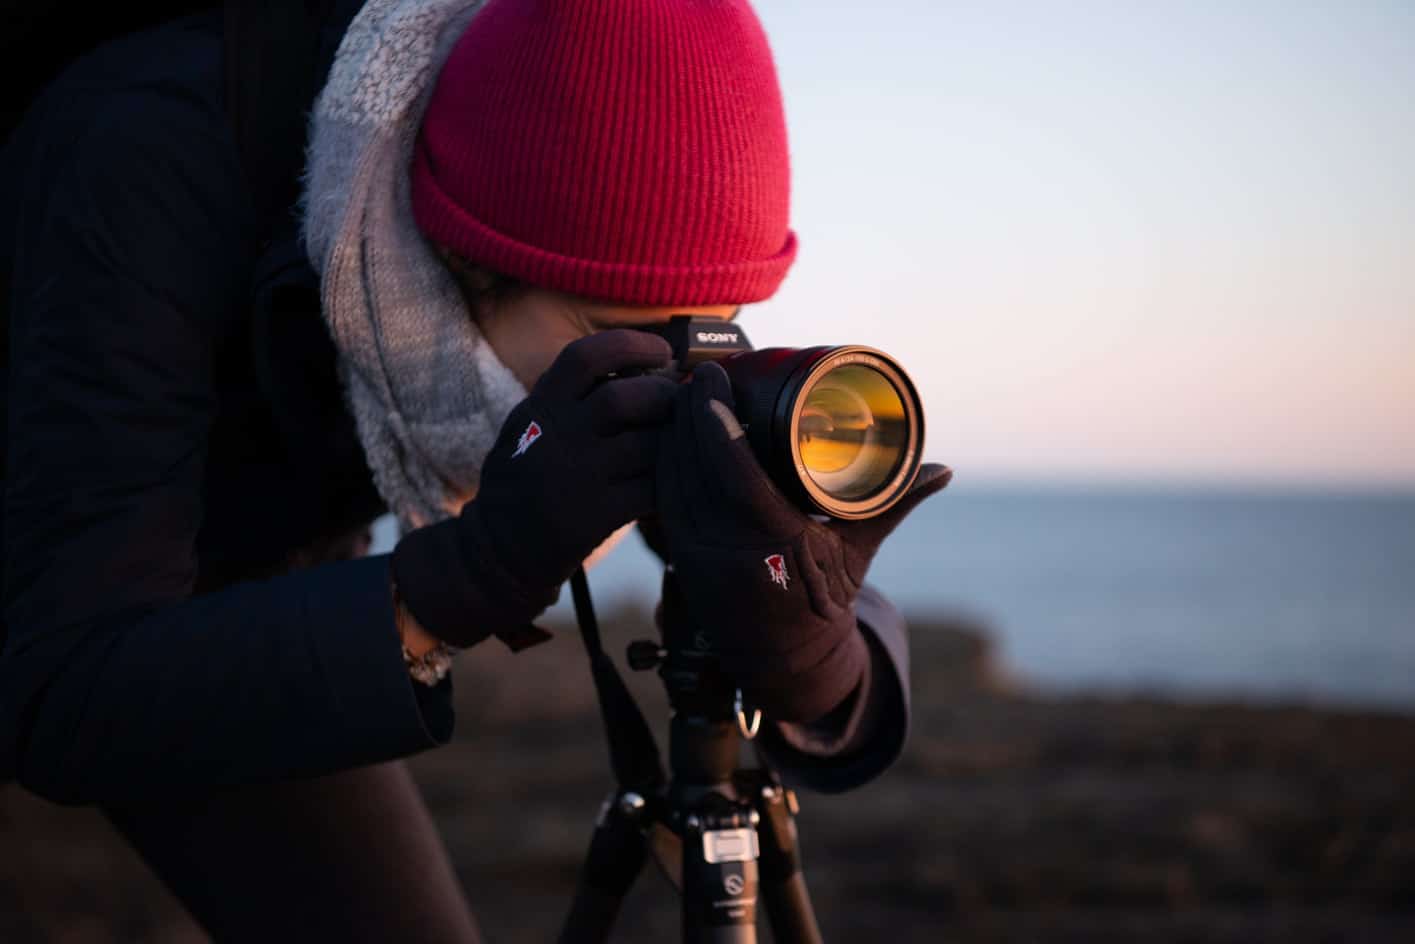
3.Use a Tripod When Necessary: If you are shooting for an hour or more, your hands and arms will start to ache if you’ve been holding the camera for most of it. Using a tripod will not only save you from unpleasant muscle cramps but will also help you to stabilize your camera.

Even if you think you have a steady hand, there will always be some slight movement when you press the shutter if you are holding your camera. With a tripod, there is no movement. Tripods are particularly helpful if you are shooting still life photography. They will make your images look crisper and sharper.
These are some of the basic tips that you must know to take great pictures at home. Don’t forget to share your tips with us in the comment section.