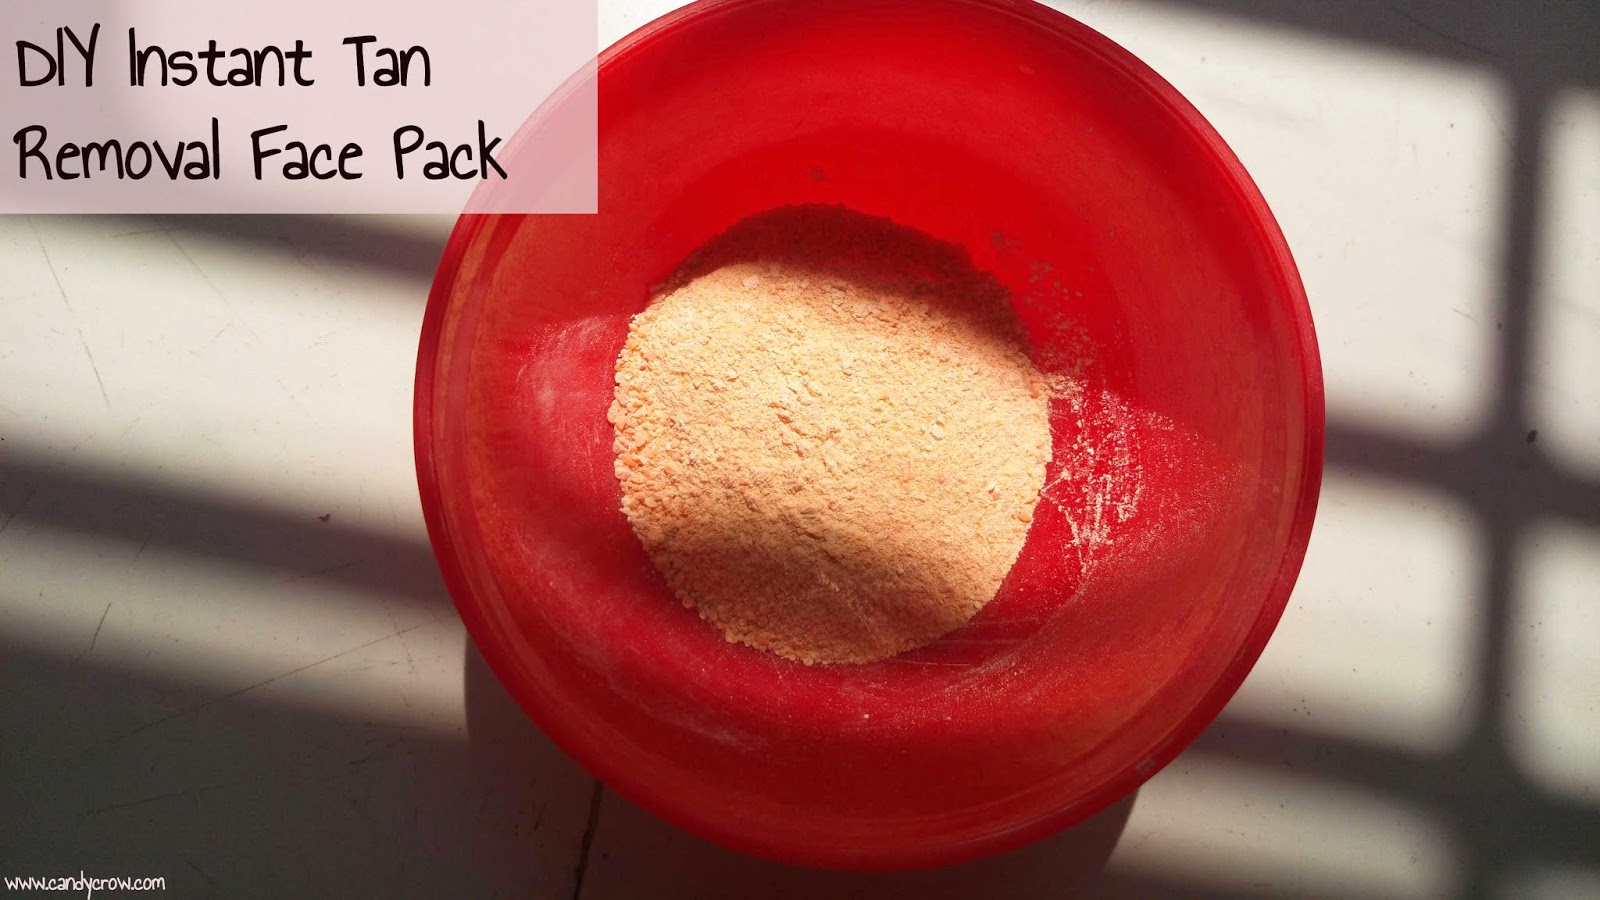
We all go through good and bad phases with our skin. There are bad phases when our skin turns dry and patchy. There are dark spots and pigmentation issues. That is the time when we want to splurge onpremium skin care products and believe that they will do wonders for our skin. But do you know we have wonder products in our kitchen we will revitalize our skin. We have different types of pulses in our kitchen and they help a lot in getting the best out of your skin. Mung dal, chana dal, besan, masoor dal are some of the famous pulses which are known to be extremely beneficial for your skin.Today we will see, how to make instant tan removal pack at home.
In summers, I always face the issue of dull skin and tanned skin because of regular sun exposure. And in that case, masoor dal face pack, comes in handy. Let’s have a detailed look at how you can benefit with masoor dal face mask scrub pack
Ingredient List For Instant Tan Removal Face Pack:
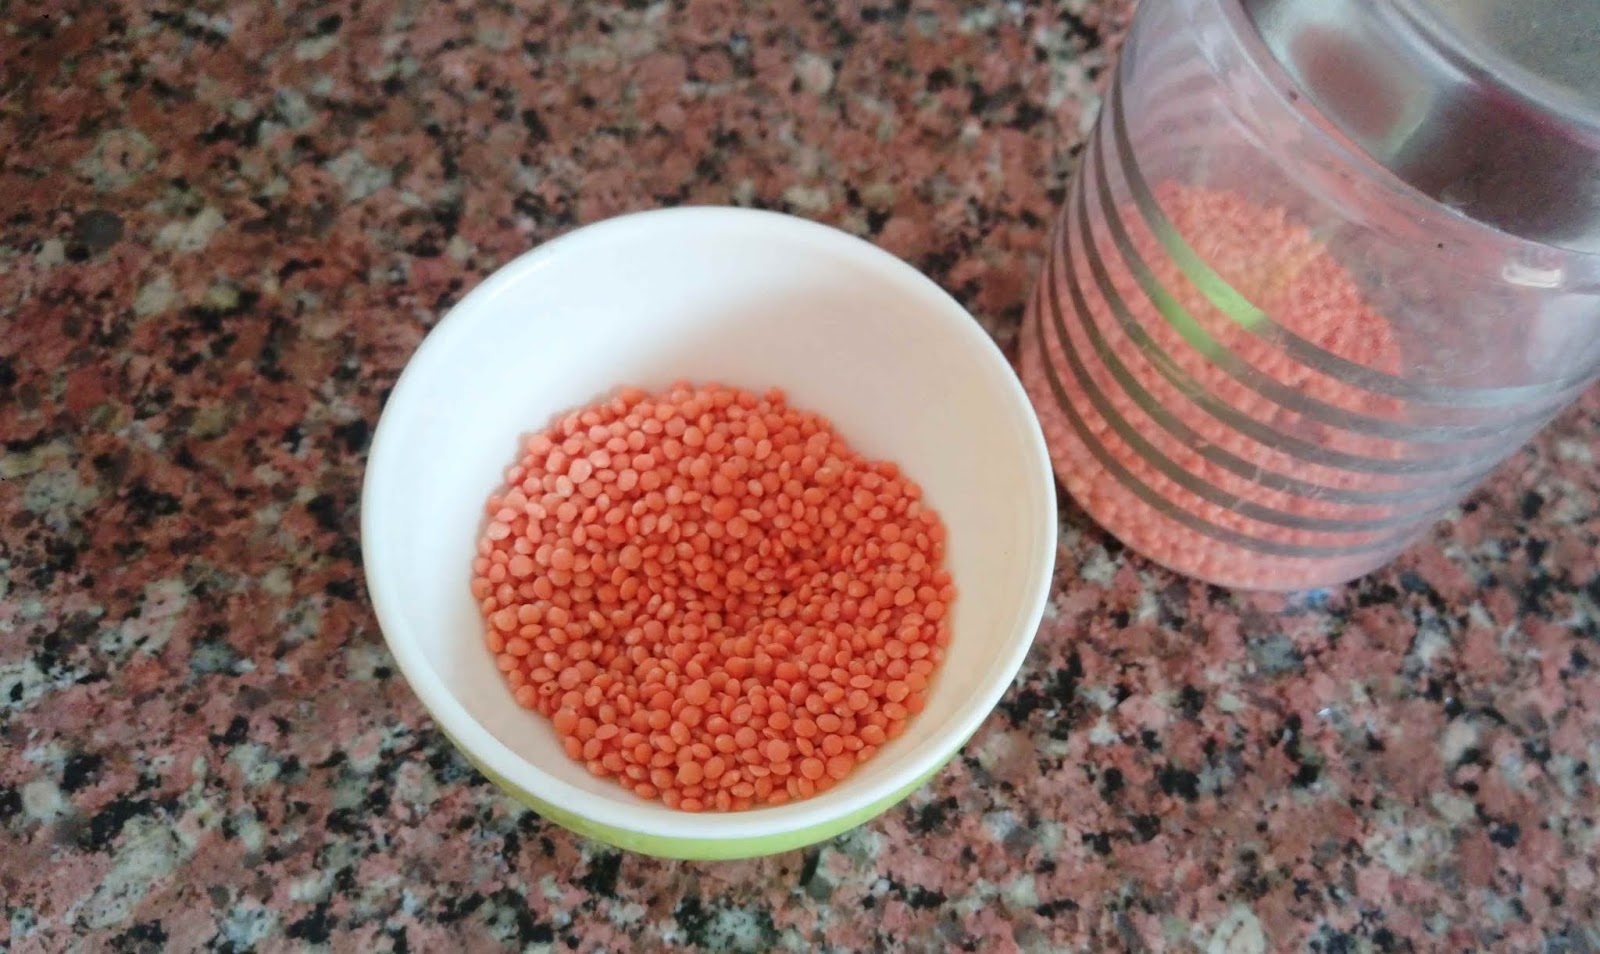
5 tablespoon of masoor dal
Yes, you read it right. This is a simple and easy peasy scrub. You only 1 ingredient in this scrub. Isn’t it great.
Step by Step Photos for Masoor Dal Instant Tan Removal Face Pack
Masoor dal is a fab lightening agent. This pulse also has bleaching properties for your skin. When you add it in your regular skin care regimen, then you will notice that your skin is much more clearer and smooth. This adds radiance to your skin. Masoor dal also acts as a fab exfoliator and it cleanses the skin effectively. Masoor dal is also known to remove black spots and even works on pigmentation on your skin.
Begin by taking 5 tablespoon of masoor dal in a bowl
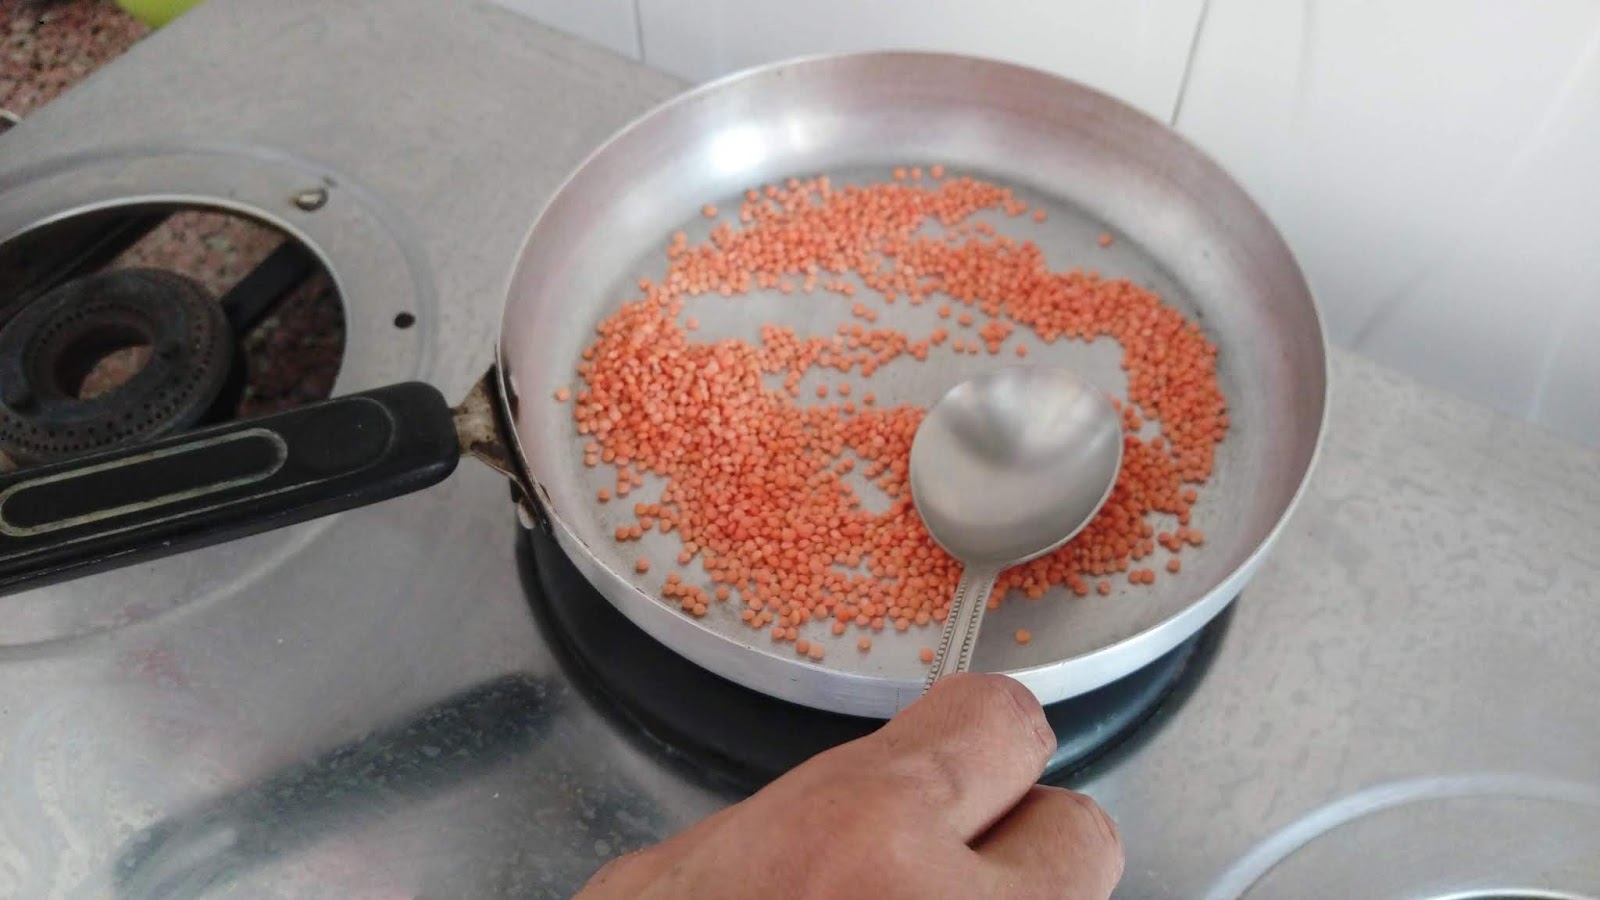
Dry roast the masoor dal for 2-5 minutes on a pan in low flame.
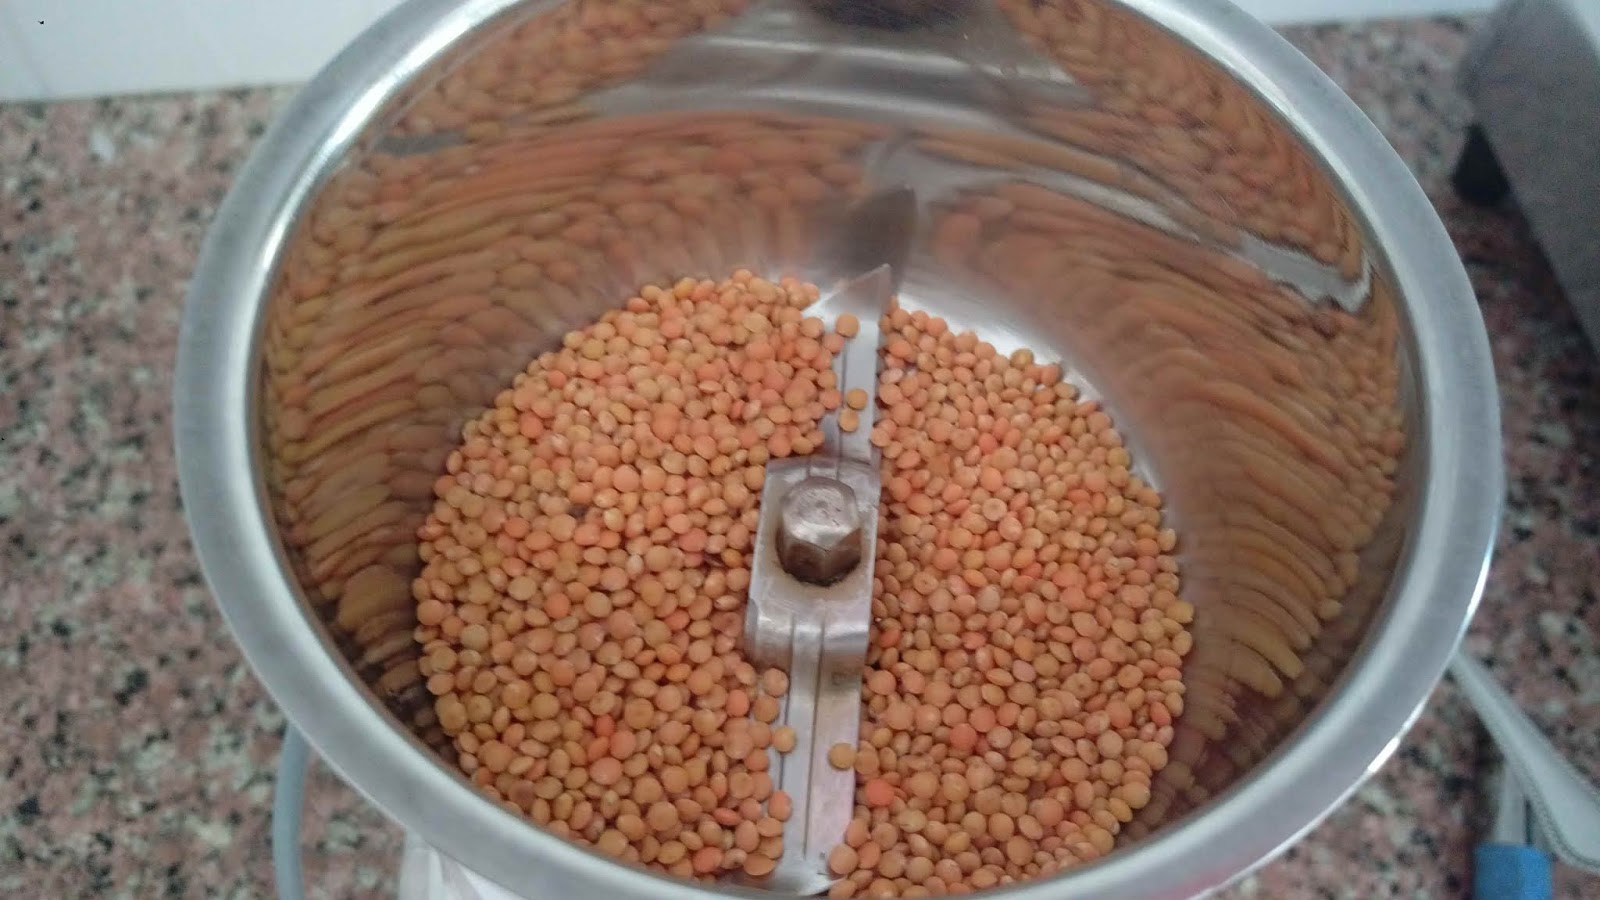
Let it cool down. Now, grind the dry roasted masoor dal. Don’t add any water into it.
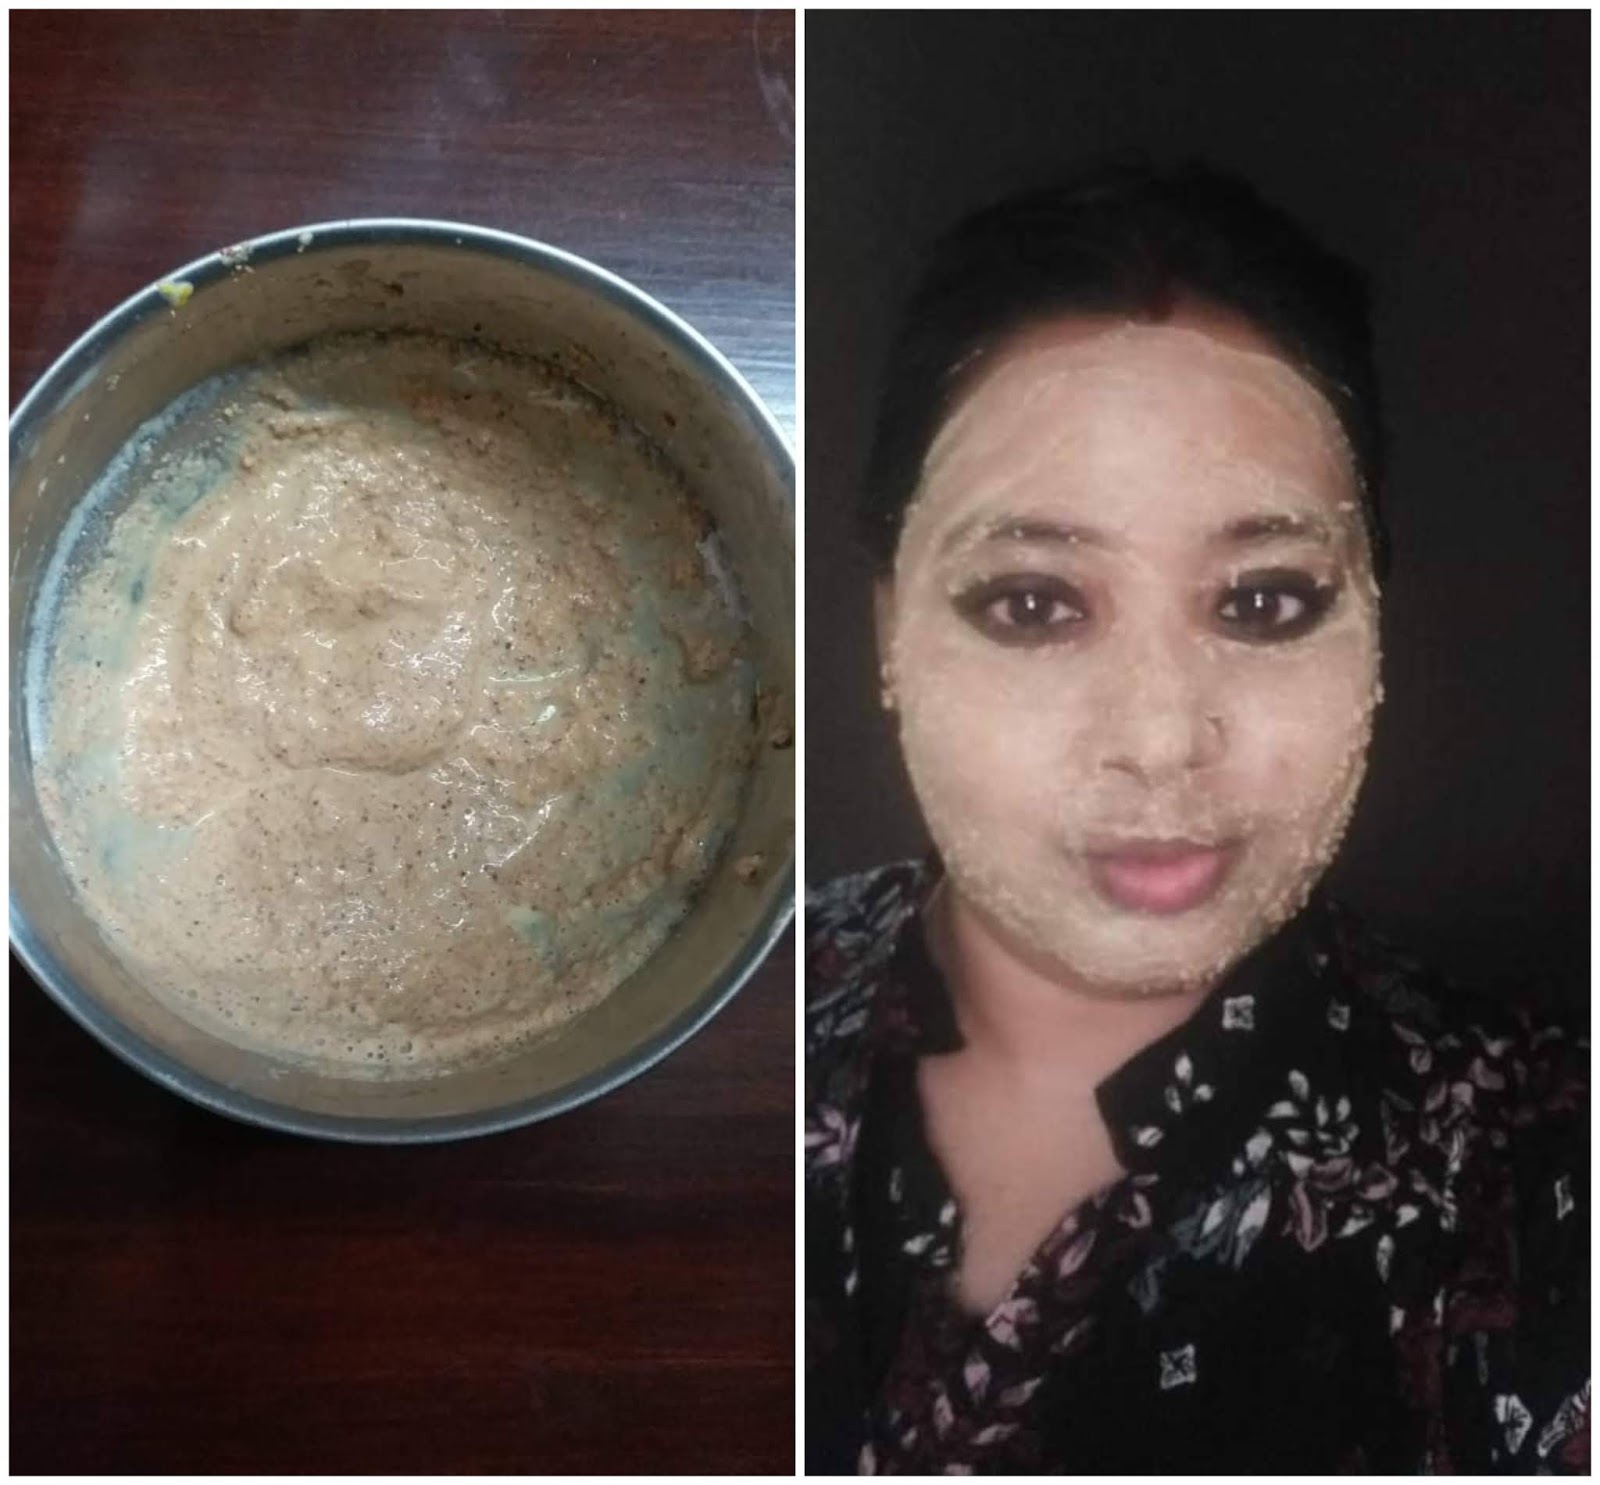
And now your masoor dal face scrub is ready. You can make big batches and store it in air tight container and use it as per requirement.
How to use Masoor Dal Face Mask?
Dilute the face pack with some milk or curd and then apply it all over your face. This might take some time to dry out. Take care that the masoor dal face pack when dries are in chunks and thus they can fall off from your face. Since the face mask is thick, thus it might take around 10-15 minutes to dry off. I suggest you to use water to gently scrub your face and then finally rinse your face with water. Don’t use any other face wash that day on your face.
This is a strong face scrub and thus it should not be used on daily basis. But since I like using face scrub regularly, thus I use this face scrub on every alternate day. Since I have dry skin, I recommend using curd or milk with this face pack.
Dry skinned people can also use oils of their choice with this face pack. You can use olive oil, coconut oil or any other facial oil. Oily or sensitive skinned people can use tea tree essential oil with this face pack. You can also add some drops of lemon juice to remover tanned skin more efficiently. Also incorporate home made glow pack in your skincare routine for a glowing skin.
Results
Post immediate usage of this face scrub, you will immediately notice that your face is much more cleansed. Blackheads and whiteheads immediately go away after the use of this face scrub.With prolonged usage, you can see that your tan has also subsided and your face has a healthy glow to it.
Some points to remember –
1. It is advisable for sensitive skin people to do a patch test, before going ahead with the face scrub.
2. People who have breakouts and acnes should stay away from this face scrub.
3. In case you have very dry skin, then limit the use of this face scrub once a week.
Author: Pallavi Bose

This is so cool. Thanks for sharing.
Thank you dear
Love this DIY mask. Great post!Khanak xwww.khanakm.com
Cool sharing! Gonna check it out! xoxo